🧶The Art of Blocking Knitting: Elevating Your Handmade Masterpieces
Knitting isn’t just a craft — it’s an art form. It allows us to create, express, and slow down. But there’s one simple step that can take your work from lovely to truly special and that’s blocking.
It’s the finishing touch that helps your stitches bloom and gives your piece a polished, professional feel. Whether you’re a seasoned stitcher or just starting out, learning how to block properly will make your hard work shine.
In this guide, we’ll explore:
〰️What blocking actually is
〰️Why it matters (yes, even for scarves!)
〰️How to block your work (wet or steam)
〰️Tools to help to make it easy

✨ What Is Blocking?
Blocking is the gentle process of shaping and setting your knitted fabric to its final dimensions. It involves soaking or steaming the piece and then laying it flat to dry in shape — smoothing tension, opening up stitches, and enhancing the drape.
Think of it like pressing a beautiful linen shirt. Same fabric… but wow, what a difference it makes!
💡 Why Should I Block?
Blocking serves several powerful purposes:
Evenness - It helps smooth out tension across your fabric (especially important for garments).
Shape – You can shape your project to its intended dimensions, which is especially helpful for lace or garments.
Stitch Definition – It opens up stitchwork like cables and lace, making them pop beautifully.
The Finishing Touch – Like framing a painting, it gives your work that finished feel that makes it truly shine.
🧴 How to Block (The Practical Bit)
You’ve convinced me! Now how do I actually do it?
There are two main methods: wet blocking and steam blocking. Both work beautifully depending on your yarn and project.
🌊 1. Wet Blocking
This method is best for natural fibres and pieces that need shaping.
🐾 Steps for wet blocking
1. Fill a basin with lukewarm water and a little wool wash |
 |
|
2. Gently immerse your piece and press it down until fully saturated. Let it soak for about 15–30 minutes. 3. Remove gently, support the weight of the piece, and roll in a clean towel to remove excess water. |
|
|
4. Lay the piece flat on a towel or blocking mat, gently shaping to the desired size |
We love the KnitPro blocking mats and pins — they make the process so much easier!
 |

|
 |
| KnitPro Blocking Mats | KnitPro Pins (included with lace wire kit) | KnitPro Lace Wire Kit |
💨 2. Steam Blocking
Steam blocking is perfect for more delicate fibres or items that don’t need major reshaping — like colorwork, simple garments, or swatches.
You’ll need:
- Steam iron or handheld steamer.
- Pressing cloth or towel.
- Blocking mat or heat-safe surface.
Steps:
- Set up your project on a heat-safe surface, and lay your item flat in its desired shape.
- Hover the steamer or iron (on steam setting) a few inches above the fabric — don’t press directly unless your yarn allows it.
- Allow the steam to gently relax the fibres and open up the stitches.
- Lightly smooth or shape the fabric into place with your hands.
- Let the piece dry completely before lifting or moving.
🧵Tip: Use a pressing cloth (like a clean tea towel) between the iron and your project for added protection — especially on delicate yarns.
👀Wet Blocking Demo
🎉 Final Thoughts
Blocking might sound like a chore… but it’s actually the secret to really loving your finished piece.
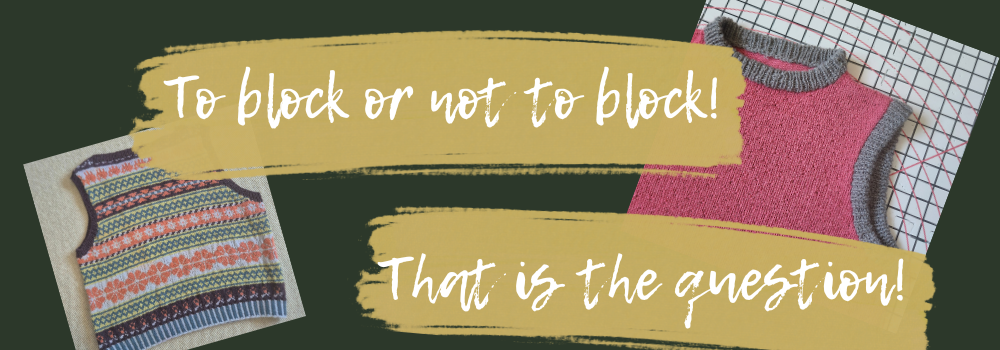
Whether you’ve spent hours knitting a Fair Isle vest or a quick lacy cowl, blocking gives your project that professional, finished look. It smooths out tension, reveals your stitch detail, and brings out the full beauty of your handmade piece.
✨ Take the time — your stitches deserve the spotlight.
💬 We'd love to see your before & afters!
👉The joy of creating something truly unique
Tag us on Instagram @GorgeousAlpacas or use #GorgeousAlpacasMakes — we might feature your finished masterpiece!